Today I had the need to put a radius on a piece of work in the XZ plane and could not figure out how to do it. The manual was little help as not only was it translated from Chinese, it was clearly for a different model of DRO. Mine doesn't have the option of "simple" or "smooth", for example. A member of a Facebook machining group came to my rescue. For the purposes of posterity (ie I'm going to need to look it up next time I use this function) I decided to document this.
Some important points:
- 0 degrees is at 3 o'clock, 90 degrees at noon, and so on.
- Once you enter arc mode, it assumes your current location to be X0Y0Z0, ignoring what the coordinates are set to. This means it's important to put the mill table at the centre of the radius of the arc before you enter arc mode.
- If you're using a standard end mill, use the corner of the end mill as X0Z0, and use 0 as the cutter diameter. I assume, but have not verified, that if you're using a ball-end mill the centre of the tool would be X0Z0 and you would enter twice the radius of the tool as the tool diameter.
- It's important that the X axis increments in the right direction - as you move the table left, X should increment in the positive direction. I had to go into the setup (hold down the decimal point key as the DRO boots up) and change the 0 to 1 in the X setup.


Then navigate to X and Z coordinates that match the radius of the arc you're cutting. I wanted a 5mm radius, so we go to X -5 and Z -5.


Then enter the Arc mode - it's the one below the 0 on the keypad. Set this to XZ using the arrow keys. Use the ENT key to scroll through the settings.

Set X0 Z0 as your centre.

Enter your radius, in this example, 5mm.

Set tool diameter to zero.

Set max cut to 0.5mm. I tried 0.25mm but that doubles the number of passes and I don't think it decreases the amount of time it takes to file it smooth afterwards.

Set start angle to 90 degrees. This starts the process at 12 o'clock.

And set end angle to 0 degrees (3 o'clock). If you reversed these two numbers, it would work anti-clockwise rather than clockwise.

We want an outside corner, so set it to RAD+TL.

The next press of the ENT key starts the sequence. You can ignore step 1 as it's basically a start position and doesn't actually cut. Advance through the sequence using the arrow keys and navigate to position 2. I strongly suggest you lock your travels between moves, certainly at least your Z. I was able to get away with slightly tightening my X and leaving it there. Be aware if you have backlash in your X leadscrew, if you're adjusting "uphill", vibration will make the handle fall through the backlash, potentially moving the X table during the cut. The last step of the sequence involves a very small X movement (sometimes less than 0.1mm on smaller rads) and can probably be ignored.

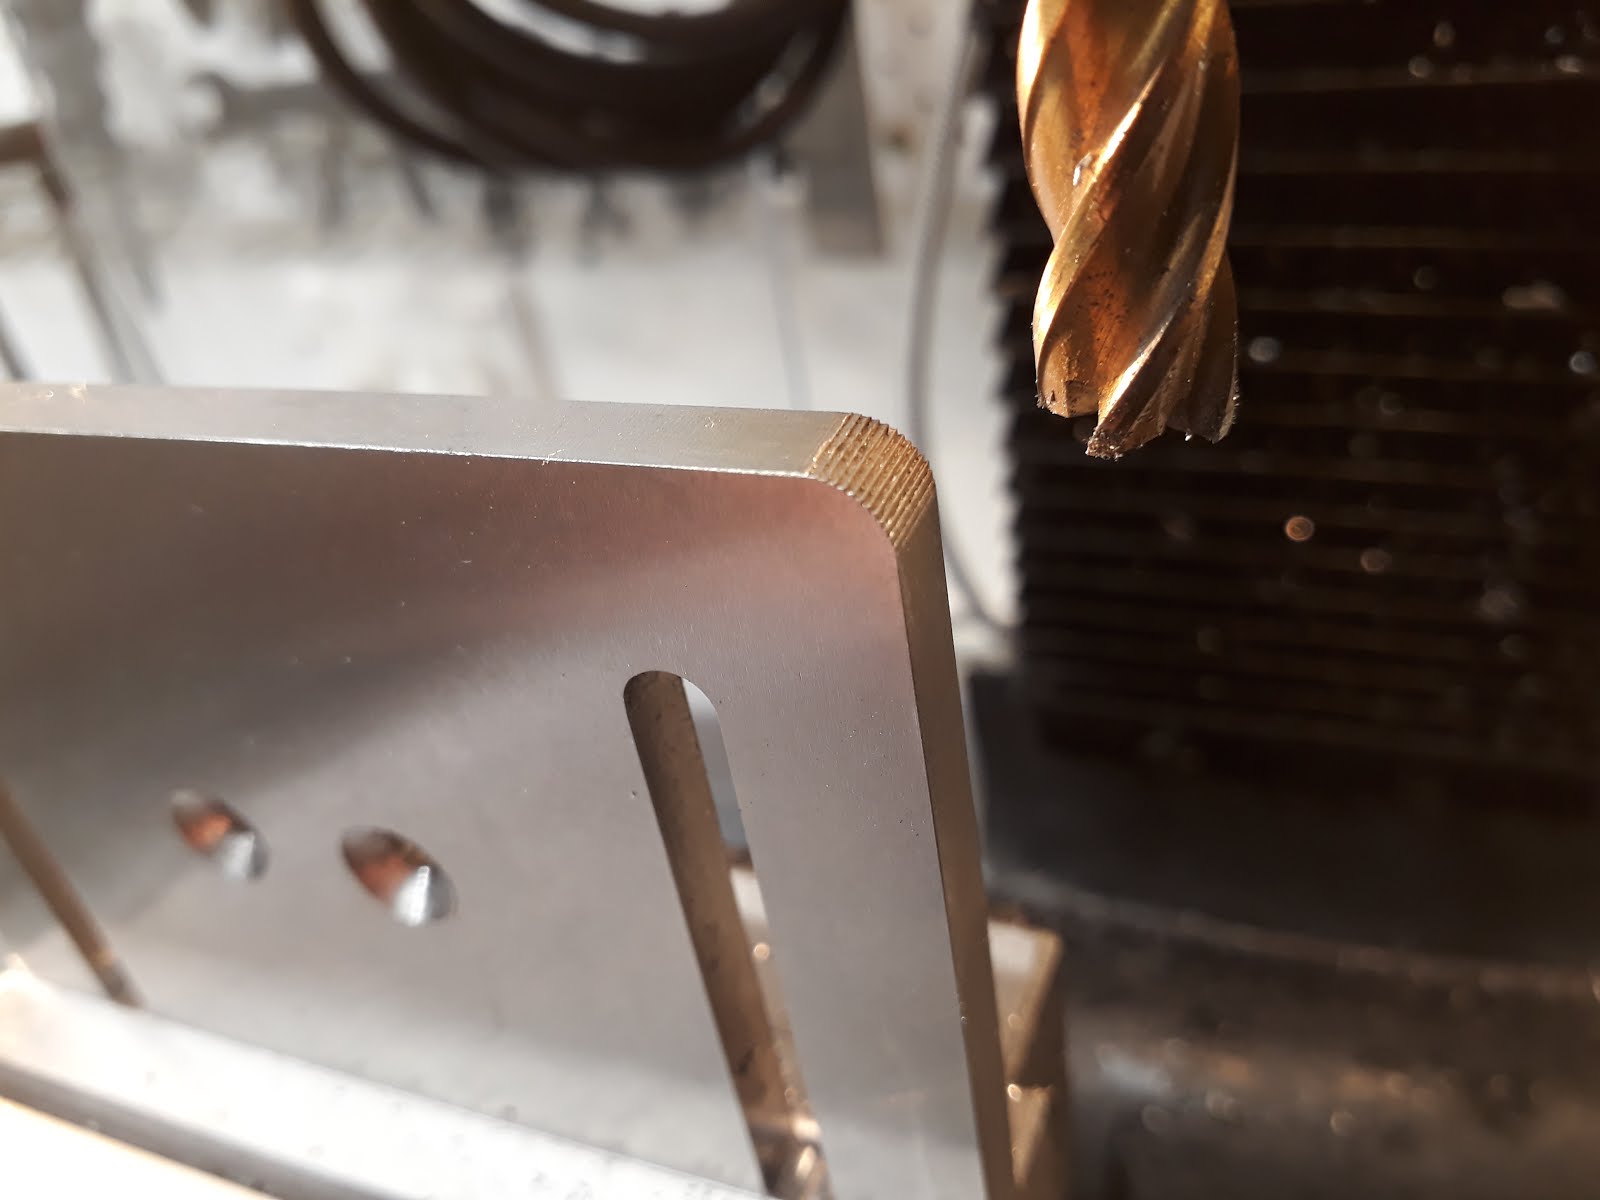
The result of 16 passes (about six minutes) after a quick brush with a wire brush to knock off the burrs:
You may notice the shiny packing tape over the display. This is holding some pieces of translucent green plastic over the LED display. I found that there was not enough contrast on the display and it was washing out under my shop lights, making it very difficult to read without squinting. I'll come up with a better way to hold these on. Here's a shot of it without the plastic:

Hopefully this has helped somebody - let me know in the comments below. I also could have used a rotary table, disc sander, or simply a file to achieve the same result, but someday I may want to put an arc on longer sections so I wanted to nut this out.
Cheers!
TSIII